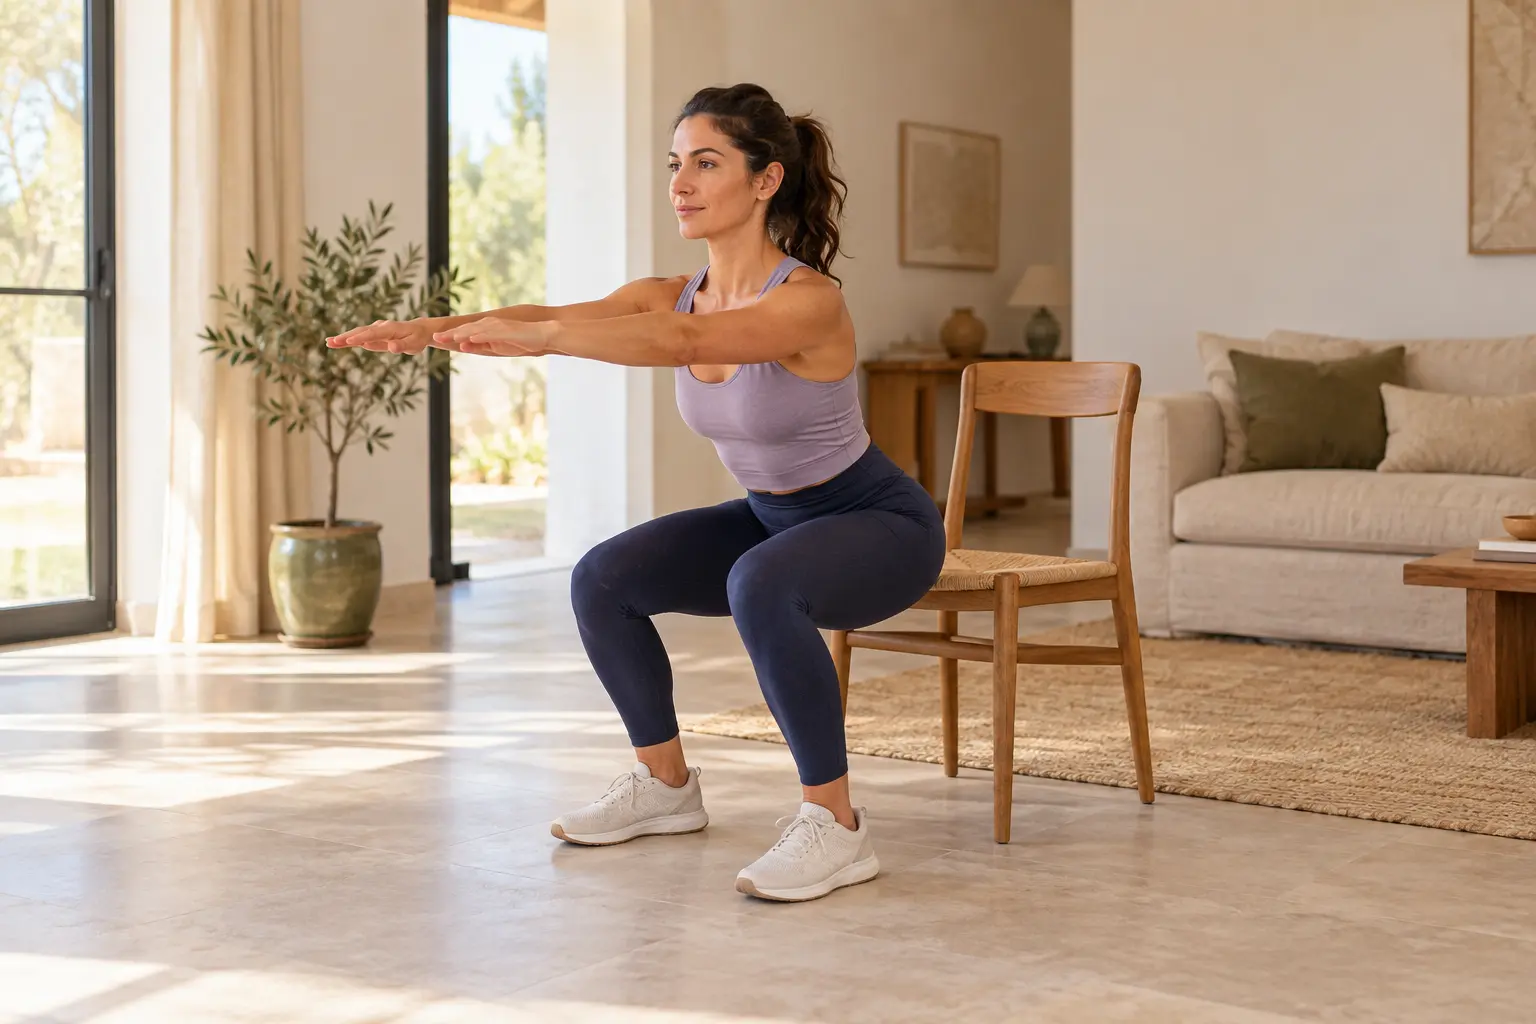
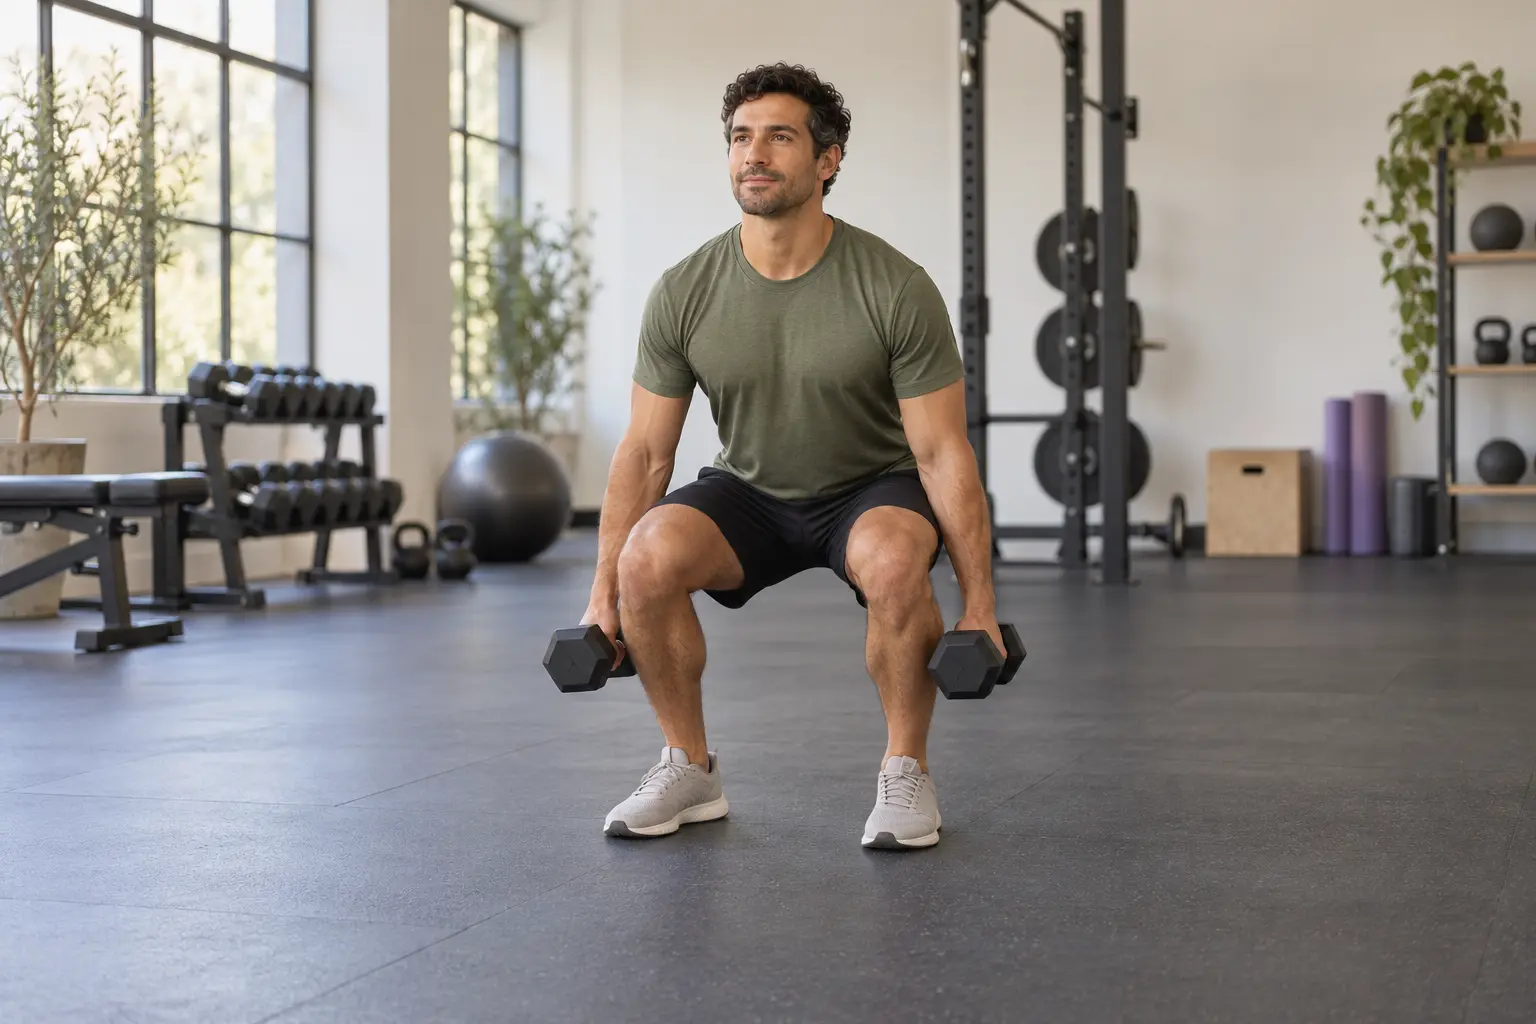
Prepare your workout
- Equipment
- Adjustable dumbbells with sufficient load, Firm support and Exercise mat; Stable wall for supplementary exercises
- Before you choose
- For regular trainees with established technique in every movement who can estimate remaining repetitions. Dumbbells must provide sufficient load: finishing with much more reserve makes this less than advanced for you. Learn new movements with supervision first.
- Intensity
- RIR 2 means finishing able to do about 2 more good repetitions. Main sets should be challenging without failure. Preserve posture and breathing in holds and carries; prioritise speed and quality in jumps.
- Warm-up
- Before the session, complete one gentle round of the three listed movements. Allow about 8 minutes for preparation, transitions and rehearsing the first exercise; extend this if needed. Add 2–3 gradual warm-up sets for the first loaded exercise, well below fatigue, and one rehearsal of the first unfamiliar pattern. These are not work sets.
Duration is approximate. Prepare your equipment and take the indicated rests; needing more rest can make the workout longer.
PREPARE TO MOVEYour warm-up
Start with this gentle preparation before your working sets. The listed duration includes the warm-up.
Knee-raise march
60–90 s at a comfortable pace
Stand in a clear area to march on the spot or move slowly forward. Raise one knee comfortably, coordinating the opposite arm. Place the foot down with control and alternate in a steady rhythm.
What you train: Trains arm-leg coordination and balance while raising each knee.
Watch video ↗Arms-only dead bug
1 × 6 gentle repetitions
Lie on your back, knees bent, feet grounded and arms towards the ceiling. Move one arm back towards your head while gently breathing out. Return upward and alternate, preserving your natural back position.
What you train: Trains trunk control while moving an arm with feet supported.
Watch video ↗Quadruped single-arm raise
1 × 6 gentle repetitions
Place hands below shoulders and knees below hips on a mat. Slide one hand forward and lift slightly if your torso stays still. Return it below your shoulder with control and alternate.
What you train: Trains trunk stability when one hand leaves the floor.
Watch video ↗
STEP BY STEP
Your complete workout
9 exercises01Half-kneeling shoulder press
3 × 6–8 per side · RIR 2
How to do it- Kneel on one padded knee and place the opposite foot forwards, keeping a wide base.
- Press the dumbbell from your shoulder to overhead without leaning.
- Lower to your shoulder with control, keeping your pelvis and ribs still.
What it trainsStrengthens the shoulder and triceps and trains trunk stability in half kneeling.
- Rest
- Rest 120 s between sets after completing both sides; take 15–30 s to switch sides. Extend the pause if you cannot repeat the technique.
- Tempo
- 2 s lowering · no bouncing · firm ascent
- Effort reserve
- RIR 2: finish with about 2 repetitions you could still perform with good technique.
The movement, step by step
Kneel on one knee on a mat and place the opposite foot forwards, with a wide base. Press a dumbbell from your shoulder to overhead and return with control. Keep your pelvis and ribs still, without leaning to complete the repetition.
Technique cueKeep enough side-to-side space between your points of support to stay stable.
Variations and mistakes to avoid
- More accessible
- Do a standing press with less weight.
- To progress
- After completing the top of the range in every set with the stated RIR across two sessions, add the smallest available weight increment and return to the bottom of the range.
- Avoid this mistake
- Leaning sideways or losing your balance.
02Supported dumbbell row
3 × 6–8 per side · RIR 2
How to do it- Rest one hand on a firm surface and hinge forward from your hips.
- Pull the dumbbell towards your hip by moving your elbow back, without rotating your chest.
- Lower until your arm is straight, with control, keeping your torso at the same angle.
What it trainsStrengthens the back and arms with additional support for your trunk.
- Rest
- Rest 120 s between sets after completing both sides; take 15–30 s to switch sides. Extend the pause if you cannot repeat the technique.
- Tempo
- 2 s lowering · no bouncing · firm ascent
- Effort reserve
- RIR 2: finish with about 2 repetitions you could still perform with good technique.
The movement, step by step
Support yourself with one hand and hold your torso at a comfortable angle. Pull the dumbbell towards your hip without rotating your body; lower with control until your arm is straight. Choose a challenging weight that does not require momentum.
Technique cueChoose a challenging weight that you can move without momentum.
Variations and mistakes to avoid
- More accessible
- Reduce the weight and range of movement.
- To progress
- After completing the top of the range in every set with the stated RIR across two sessions, add the smallest available weight increment and return to the bottom of the range.
- Avoid this mistake
- Using momentum from your torso on every repetition.
03Suitcase carry
3 × 30–45 s each side
How to do it- Hold a dumbbell at one side in a clear space.
- Walk slowly with regular steps and an upright trunk.
- Stop with control and change hands.
What it trainsStrengthens grip and trains the trunk to resist an uneven load while walking.
- Rest
- Rest 90 s between sets after completing both sides; take 15–30 s to switch sides.
- Tempo
- Continuous breathing · steady posture · no swaying
The movement, step by step
Walk slowly through a clear area holding a dumbbell at one side. Switch hands when you finish.
Technique cueKeep your shoulders level even though only one side carries weight.
Variations and mistakes to avoid
- More accessible
- Reduce the weight and distance.
- To progress
- After reaching the upper time limit in all sets across two sessions, slightly increase the load or lever while returning to the initial duration.
- Avoid this mistake
- Leaning your body to compensate for the weight.
04Side plank
3 × 25–40 s each side
How to do it- Lie on your side, supported on your forearm and the sides of your feet.
- Raise your pelvis to align shoulders, hips and feet without twisting.
- Breathe as you hold; lower with control to finish.
What it trainsTrains side abdominal endurance and pelvic control with a narrow support base.
- Rest
- Rest 75 s between sets after completing both sides; take 15–30 s to switch sides.
- Tempo
- Continuous breathing · steady posture · no swaying
The movement, step by step
Rest on your forearm and the sides of your feet. Lift your pelvis to form a comfortable straight line, and breathe without rotating.
Technique cuePlace your elbow below your shoulder; stop if alignment is lost.
Variations and mistakes to avoid
- More accessible
- Rest on your knees.
- To progress
- After reaching the upper time limit in all sets across two sessions, slightly increase the load or lever while returning to the initial duration.
- Avoid this mistake
- Rotating your torso or holding your breath.
How to do it- Support yourself on your forearms and toes with your abdomen firm and your pelvis steady.
- Place your elbows slightly ahead of your shoulders without losing your position or holding your breath.
- Hold with control and stop before your back starts to arch.
What it trainsWorks abdominal control and endurance by slightly increasing the distance of your arm support.
- Rest
- Rest 75 s between sets.
- Tempo
- Continuous breathing · steady posture · no swaying
The movement, step by step
Place your elbows slightly ahead of your shoulders, only as far as you can keep your abdomen firm and breathe without arching your back. The video shows the basic position; adjust the lever gradually.
Technique cueThe video shows the basic position; here you move your elbows forwards gradually and with control.
Variations and mistakes to avoid
- More accessible
- Do it against a wall or with your knees on the floor.
- To progress
- After reaching the upper time limit in all sets across two sessions, slightly increase the load or lever while returning to the initial duration.
- Avoid this mistake
- Letting your lower back sag or raising your hips too high.
06Static bear hold
2 × 25–35 s
How to do it- Place hands below shoulders and knees below hips; tuck your toes.
- Lift your knees a few centimetres and keep your back and pelvis still.
- Breathe while holding the position and lower your knees with control to finish.
What it trainsTrains abdominal control and shoulder and hip stability with knees lifted.
- Rest
- Rest 60 s between sets.
- Tempo
- Continuous breathing · steady posture · no swaying
The movement, step by step
From your hands and feet, lift your knees a few centimetres. Keep your back and pelvis still throughout the block while breathing. This is a control accessory, not a maximum-duration test.
Technique cueThis block focuses on postural control, not holding for as long as possible.
Variations and mistakes to avoid
- More accessible
- Keep your knees on the floor.
- To progress
- After reaching the upper time limit in all sets across two sessions, slightly increase the load or lever while returning to the initial duration.
- Avoid this mistake
- Lifting your hips too high or holding your breath.
07Alternating dead bug
2 × 6–8 per side · RIR 2
How to do it- Lie on your back with arms towards the ceiling and knees bent.
- Slowly extend one arm and the opposite leg without moving your pelvis.
- Return with control and repeat on the opposite side.
What it trainsTrains abdominal control while the arms and legs move.
- Rest
- Rest 60 s between sets after completing both sides; take 15–30 s to switch sides. Extend the pause if you cannot repeat the technique.
- Tempo
- 3 s extending · 1 s pause · slow return
- Effort reserve
- RIR 2: finish with about 2 repetitions you could still perform with good technique.
The movement, step by step
Lie with your arms raised and knees bent. Slowly reach your opposite arm and leg away, then return.
Technique cueShorten the range if your back cannot stay comfortable.
Variations and mistakes to avoid
- More accessible
- Move only one leg or slide your heel.
- To progress
- Extend the leg further while keeping your position; then maintain the dose as control work.
- Avoid this mistake
- Holding your breath or moving your pelvis.
08Farmer's carry
2 × 40–60 s
How to do it- Hold a dumbbell in each hand with arms beside your body.
- Walk with controlled steps along an obstacle-free route.
- Slow down to stop and carefully put the weights down.
What it trainsStrengthens grip and trains trunk stability while carrying weight.
- Rest
- Rest 90 s between sets.
- Tempo
- Continuous breathing · steady posture · no swaying
The movement, step by step
Hold a dumbbell in each hand and walk with controlled steps through a clear space.
Technique cueChoose a load that allows upright walking and relaxed shoulders.
Variations and mistakes to avoid
- More accessible
- Use lighter weights or a shorter distance.
- To progress
- After reaching the upper time limit in all sets across two sessions, slightly increase the load or lever while returning to the initial duration.
- Avoid this mistake
- Turning quickly or walking through an area with obstacles.
09Shoulder circles
Additional exercise
1 × 5
How to do it- Sit or stand with your arms relaxed at your sides.
- Make small, slow shoulder circles backwards.
- Reverse direction, then let your shoulders relax.
What it trainsGently mobilises the shoulders and shoulder blades before activity.
- Rest
- Rest 30 s or longer until control returns.
- Tempo
- Controlled, without holding your breath
- Effort reserve
- RIR 3: finish with about 3 repetitions you could still perform with good technique.
The movement, step by step
Sitting or standing, let your arms relax. Make small, slow circles with your shoulders backwards, then forwards.
Technique cueKeep your head still and breathe naturally.
Variations and mistakes to avoid
- More accessible
- Make smaller circles.
- To progress
- Make the circles larger only within a comfortable range of movement.
- Avoid this mistake
- Moving abruptly or tensing your neck.
FINISH THE SESSIONFinish and prepare your next step.
Walk or cycle gently for 3–5 minutes. Duration includes warm-up, sets and suggested rest; allow longer if needed. Let the muscles recover before another similar hard session.
How to progress
Record weight, reps and effort reserve. Keep the load until you reach the top of the range in every set with the intended RIR for two sessions. Then add the smallest available increment and return to the lower end. Reduce load if you miss the minimum or lose technique. Do not add this on top of another hard session for the same muscles.
Open workout in the app →General routines for adults. If you have a health condition, an injury, are pregnant or have medical instructions, consult your professional before starting and ask for adaptations. Stop if you experience pain, dizziness or unusual breathlessness.