ES EspañolEN English
Skip to content
Sergio DolzTRAIN
BasketballIntermediateFree routine

Basketball · outdoor strength

Ten strength movements for basketball conditioning. No jumps: use this on a separate day from plyometrics. If combining both blocks, jump while fresh before this strength session.

Read the workout without signing up. The app adds a timer, set logging and access to your activity.

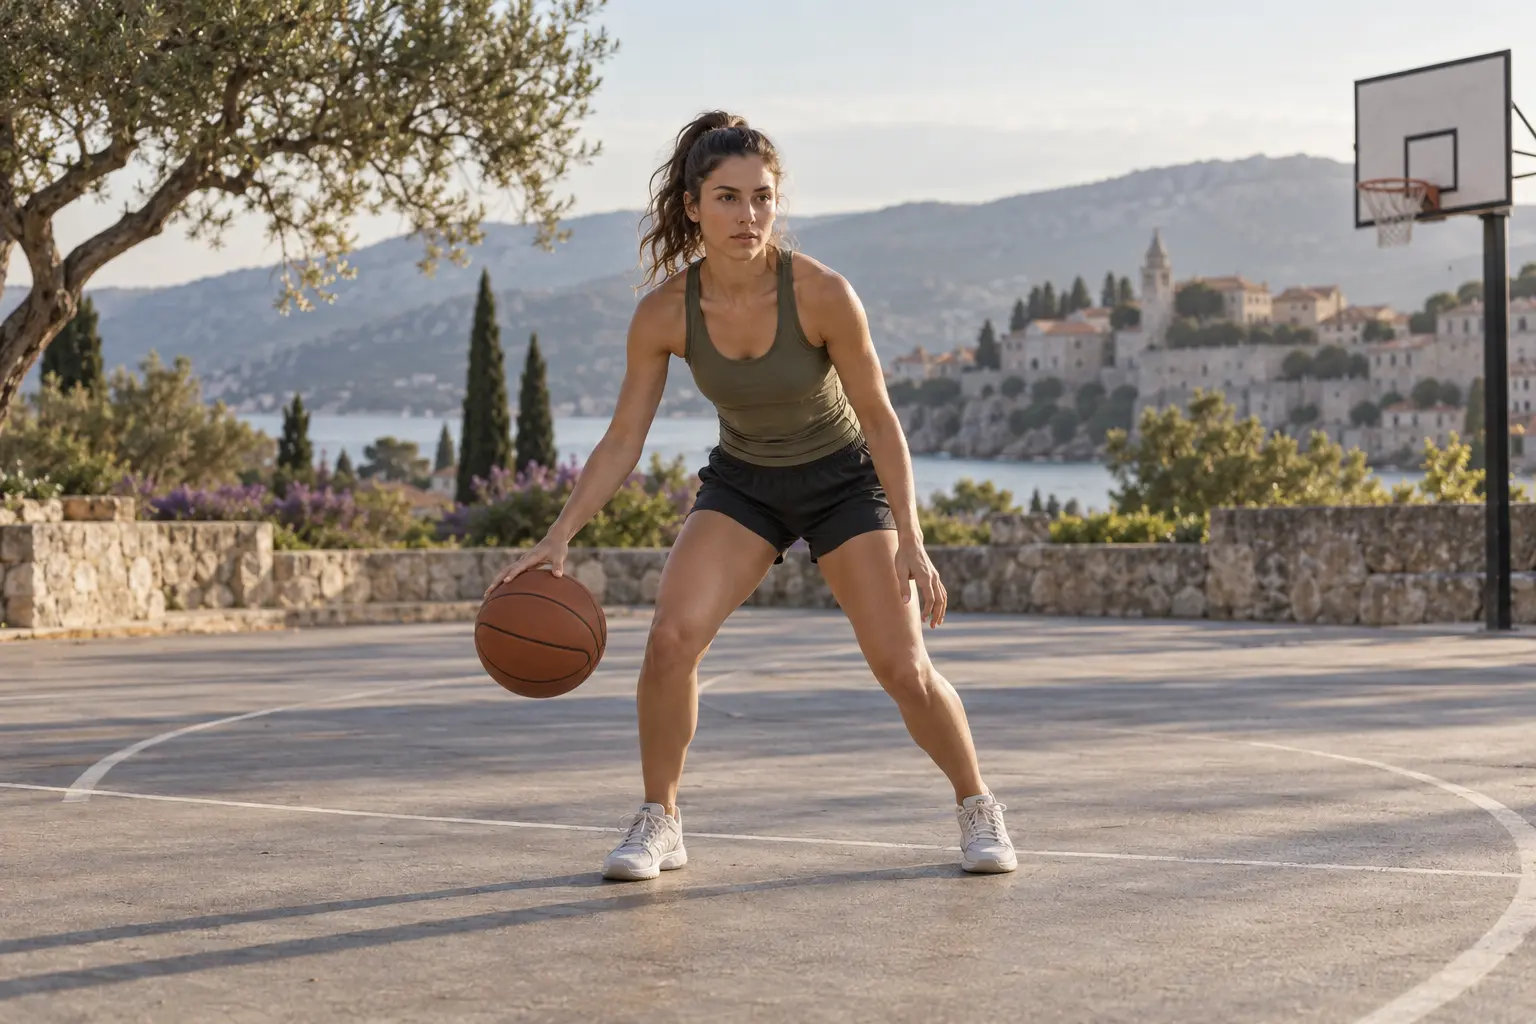
A scene of supported outdoor training. AI-generated image.
Approximate duration
46 min
Level
Intermediate
Session
10 exercises
Demonstrations
10 with video

Prepare your workout

Equipment
Closed backpack, Dumbbell, Miniband, Fixed table, Support and Exercise mat
Before you choose
General option for adults. Check each exercise's equipment and avoid improvised supports.
Intensity
Comfortable load with about 3 reps in reserve. You need not complete every set if technique worsens or you become tired.
Warm-up
Before the session, complete one gentle round of the three listed movements. Allow about 6 minutes for preparation, transitions and rehearsing the first exercise; extend this if needed. Rehearse the first exercise with light resistance before its sets, keeping breathing comfortable.

Duration is approximate. Prepare your equipment and take the indicated rests; needing more rest can make the workout longer.

PREPARE TO MOVE

Your warm-up

Start with this gentle preparation before your working sets. The listed duration includes the warm-up.

  1. Knee-raise march

    60–90 s at a comfortable pace

    Stand in a clear area to march on the spot or move slowly forward. Raise one knee comfortably, coordinating the opposite arm. Place the foot down with control and alternate in a steady rhythm.

    What you train: Trains arm-leg coordination and balance while raising each knee.

    Watch video
  2. Bodyweight squat

    1 × 6 gentle repetitions

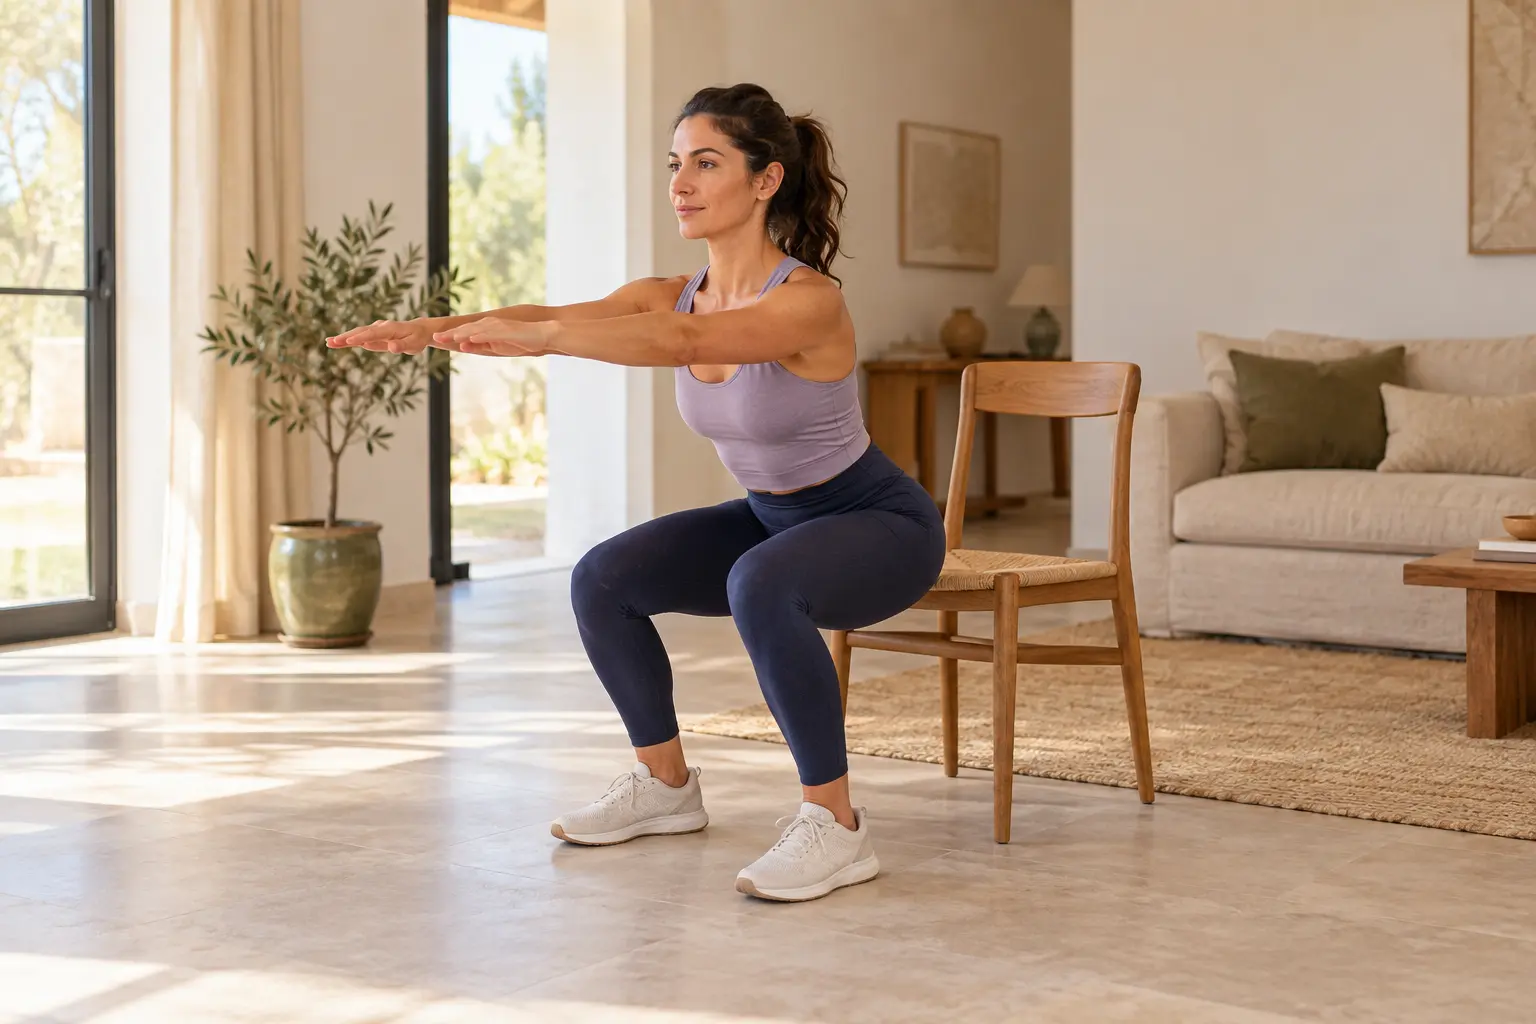
    Stand with your feet comfortably apart. Bend your hips and knees with weight shared between both feet. Push through the floor and straighten your legs to stand.

    What you train: Strengthens legs and glutes and trains hip-knee coordination when lowering.

    Watch video
  3. Gentle wrist mobility

    1 × 6 gentle repetitions

    With relaxed arms, gently open and close your hands without maximum squeezing. Make small wrist circles within a comfortable range. Reverse direction and finish by relaxing hands and forearms.

    What you train: Mobilises hands and wrists before gripping or weight-bearing exercises.

    Watch video
STEP BY STEP

Your complete workout

10 exercises
  1. Supported ankle mobility

    Additional exercise

    1 × 6

    How to do it
    1. Place one foot near a wall with the whole sole grounded.
    2. Move your knee forward in line with your toes, keeping the heel down.
    3. Return slowly and repeat with the other ankle.

    What it trainsTrains ankle mobility with the foot grounded.

    Rest
    Rest 45 s or longer until control returns.
    Tempo
    Controlled, without holding your breath
    Effort reserve
    RIR 3: finish with about 3 repetitions you could still perform with good technique.
    The movement, step by step

    With your foot planted near a wall, move your knee forwards without lifting your heel. Return and repeat.

    Technique cueStay within a comfortable range; your knee need not touch the wall.

    Watch the demonstration for Supported ankle mobilityNHS University Hospitals Plymouth Physiotherapy · English · Opens a new tab
    Source and verificationOpen the original source

    Technical reference from the stated source. YouTube metadata (title, channel and offered player) checked on 2026-10-01. This check does not certify full playback.

    Date checked:

    Variations and mistakes to avoid
    More accessible
    Move your foot closer to the wall.
    To progress
    Move your foot slightly further away if you can keep your heel down.
    Avoid this mistake
    Forcing your ankle or rotating your foot to gain distance.
    View exercise guide
  2. Quadruped hip rock-back

    Additional exercise

    1 × 6

    How to do it
    1. Start on hands and knees on a mat with a steady back.
    2. Slowly move your hips towards your heels without lifting your hands.
    3. Gently bring your hips back over your knees.

    What it trainsTrains hip mobility with hand and knee support and little weight on the legs.

    Rest
    Rest 45 s or longer until control returns.
    Tempo
    Controlled, without holding your breath
    Effort reserve
    RIR 3: finish with about 3 repetitions you could still perform with good technique.
    The movement, step by step

    From your hands and knees, slowly move your hips backwards and return to the starting position.

    Technique cueStop where your hips and knees remain comfortable.

    Watch the demonstration for Quadruped hip rock-backE3 Rehab Exercise Library · English · Opens a new tab
    Source and verificationOpen the original source

    Technical reference from the stated source. YouTube metadata (title, channel and offered player) checked on 2026-10-01. This check does not certify full playback.

    Date checked:

    Variations and mistakes to avoid
    More accessible
    Reduce the movement and pad your knees.
    To progress
    Add a brief pause at the back.
    Avoid this mistake
    Forcing a painful stretch.
    View exercise guide
  3. Split squat

    Train

    2 × 8

    How to do it
    1. Place one foot forward and one back, with space between them sideways.
    2. Bend both knees and lower your pelvis vertically, keeping your feet still.
    3. Push through the floor to rise; then change sides.

    What it trainsStrengthens each leg and trains balance in a split stance.

    Rest
    Rest 45 s or longer until control returns.
    Tempo
    Controlled, without holding your breath
    Effort reserve
    RIR 3: finish with about 3 repetitions you could still perform with good technique.
    The movement, step by step

    Place one foot in front of the other. Lower straight down by bending both knees, then rise without moving your feet.

    Technique cueKeep your hips facing forward throughout.

    Watch the demonstration for Split squatPureGym · English · Opens a new tab
    Source and verificationOpen the original source

    Technical reference from the stated source. YouTube metadata (title, channel and offered player) checked on 2026-10-01. This check does not certify full playback.

    Date checked:

    Variations and mistakes to avoid
    More accessible
    Use one hand for support and reduce the range of movement.
    To progress
    Hold light dumbbells at your sides.
    Avoid this mistake
    Using such a narrow stance that you lose your balance.
    View exercise guide
  4. Backpack Romanian deadlift

    Train

    2 × 8

    How to do it
    1. Hold a closed backpack in both hands before your legs, knees slightly bent.
    2. Push hips back and lower the bag close to your legs with a stable back.
    3. Push through the floor and extend your hips to stand, using your glutes.

    What it trainsWorks glutes and hamstrings through a backpack-loaded hip hinge.

    Rest
    Rest 45 s or longer until control returns.
    Tempo
    Controlled, without holding your breath
    Effort reserve
    RIR 3: finish with about 3 repetitions you could still perform with good technique.
    The movement, step by step

    Hold a secure backpack with both hands. Slightly bend knees and send hips back, lowering the load close to your legs. Return using your glutes.

    Technique cueStop lowering when you would need to round your back.

    Watch the demonstration for Backpack Romanian deadliftPrimeMVMNT · Audio not verified; written guide in English · Opens a new tab
    Source and verificationOpen the original source

    URL, title, channel and oEmbed response checked; variation identified in the author's title or instructions. Full playback and audio not observed.

    Date checked:

    Follow your app card's equipment, range and prescription.

    Variations and mistakes to avoid
    More accessible
    Reduce resistance and range; keep the movement comfortable and controlled.
    To progress
    Once you complete the prescribed amount with control, add one or two repetitions; then slightly increase resistance.
    Avoid this mistake
    Rounding your back to reach lower.
    View exercise guide
  5. Supported calf raise

    Train

    2 × 8

    How to do it
    1. Stand beside a firm support with weight shared between both feet.
    2. Slowly raise both heels without shifting forward.
    3. Lower with control until your whole feet are grounded.

    What it trainsStrengthens the calves and trains ankle control when rising onto your toes.

    Rest
    Rest 45 s or longer until control returns.
    Tempo
    Controlled, without holding your breath
    Effort reserve
    RIR 3: finish with about 3 repetitions you could still perform with good technique.
    The movement, step by step

    With a firm support within reach, lift both heels and lower slowly until your whole foot rests on the floor.

    Technique cueKeep your ankles aligned and weight away from the edges of your feet.

    Watch the demonstration for Supported calf raiseBromley Healthcare · English · Opens a new tab
    Source and verificationOpen the original source

    Technical reference from the stated source. YouTube metadata (title, channel and offered player) checked on 2026-10-01. This check does not certify full playback.

    Date checked:

    Variations and mistakes to avoid
    More accessible
    Reduce the range of movement and use both hands for support.
    To progress
    Do the movement on one leg with support.
    Avoid this mistake
    Bouncing or losing control of your ankle.
    View exercise guide
  6. Supported dumbbell row

    Train

    2 × 8

    How to do it
    1. Rest one hand on a firm surface and hinge forward from your hips.
    2. Pull the dumbbell towards your hip, bringing your elbow back close to your body.
    3. Slowly straighten your arm without rotating your trunk.

    What it trainsStrengthens the back and arms with additional support for your trunk.

    Rest
    Rest 45 s or longer until control returns.
    Tempo
    Controlled, without holding your breath
    Effort reserve
    RIR 3: finish with about 3 repetitions you could still perform with good technique.
    The movement, step by step

    Place one hand on a firm surface and lean forwards. Pull the dumbbell towards your hip, then lower slowly.

    Technique cueKeep your shoulders and hips facing the same way.

    Watch the demonstration for Supported dumbbell rowPureGym · English · Opens a new tab
    Source and verificationOpen the original source

    Technical reference from the stated source. YouTube metadata (title, channel and offered player) checked on 2026-10-01. This check does not certify full playback.

    Date checked:

    Supplementary explanationHSN · with PowerExplosive · Audio not verified; written guide in English · Opens a new tab
    Source and verificationOpen the original source

    Author, title, description and automatic Spanish subtitles checked. Original audio, support and full playback not checked. YouTube metadata (title, channel and offered player) checked on 2026-10-01. This check does not certify full playback.

    Date checked:

    Supplementary posture and range guide. Retain the support and prescription in this card; the main demonstration shows the reference variation. YouTube offers automatic Spanish subtitles.

    Variations and mistakes to avoid
    More accessible
    Reduce the weight and range of movement.
    To progress
    Pause for one second as you pull the dumbbell towards you.
    Avoid this mistake
    Using momentum from your torso on every repetition.
    View exercise guide
  7. Incline push-up

    Train

    2 × 8

    How to do it
    1. Place your hands on a fixed, firm bench and extend your legs behind you.
    2. Bend your elbows to lower your chest without dropping your hips.
    3. Push through your hands to straighten your arms.

    What it trainsStrengthens the chest and triceps while training trunk control during pushing.

    Rest
    Rest 45 s or longer until control returns.
    Tempo
    Controlled, without holding your breath
    Effort reserve
    RIR 3: finish with about 3 repetitions you could still perform with good technique.
    The movement, step by step

    Place your hands on a fixed, sturdy surface. Lower your chest towards it, then push up while keeping your body aligned.

    Technique cueKeep your head, trunk and hips aligned throughout.

    Watch the demonstration for Incline push-upNASM · English · Opens a new tab
    Source and verificationOpen the original source

    Technical reference from the stated source. YouTube metadata (title, channel and offered player) checked on 2026-10-01. This check does not certify full playback.

    Date checked:

    Variations and mistakes to avoid
    More accessible
    Use a higher support.
    To progress
    Gradually lower the height of the support.
    Avoid this mistake
    Letting your hips drop or flaring your elbows too far out.
    View exercise guide
  8. Miniband lateral steps

    Train

    2 × 8

    How to do it
    1. Place a miniband above knees and slightly bend hips and knees.
    2. Take three short steps sideways with knees following your feet.
    3. Return with three steps without fully closing feet or losing tension.

    What it trainsWorks the outer hips against miniband resistance.

    Rest
    Rest 45 s or longer until control returns.
    Tempo
    Controlled, without holding your breath
    Effort reserve
    RIR 3: finish with about 3 repetitions you could still perform with good technique.
    The movement, step by step

    With a band above knees and hips slightly bent, take three short sideways steps and return, maintaining comfortable tension.

    Technique cueKeep steps short and tension comfortable in both directions.

    Watch the demonstration for Miniband lateral stepsPhysitrack · Audio not verified; written guide in English · Opens a new tab
    Source and verificationOpen the original source

    Public page, title and variation instructions checked; VideoPlayer.videoUrl is non-null in the original HTML. Full playback and audio not observed.

    Date checked:

    Open the demonstration on its original page. Follow your app card's range, equipment and prescription.

    Variations and mistakes to avoid
    More accessible
    Reduce resistance and range; keep the movement comfortable and controlled.
    To progress
    Once you complete the prescribed amount with control, add one or two repetitions; then slightly increase resistance.
    Avoid this mistake
    Dragging your feet or letting knees cave inward.
    View exercise guide
  9. Kneeling side plank

    Additional exercise

    1 × 6

    How to do it
    1. Lie on your side with knees bent and elbow below shoulder.
    2. Press through your forearm and knees to raise your pelvis without twisting.
    3. Breathe while holding; lower your pelvis with control to finish.

    What it trainsStrengthens the side abdominal muscles with extra support from your knees.

    Rest
    Rest 45 s or longer until control returns.
    Tempo
    Controlled, without holding your breath
    Effort reserve
    RIR 3: finish with about 3 repetitions you could still perform with good technique.
    The movement, step by step

    Rest on one forearm and your bent knees. Lift your pelvis while keeping your shoulder stable, and breathe throughout the hold.

    Technique cuePush through your forearm so your shoulder does not sink.

    Watch the demonstration for Kneeling side plankE3 Rehab Exercise Library · English · Opens a new tab
    Source and verificationOpen the original source

    Technical reference from the stated source. YouTube metadata (title, channel and offered player) checked on 2026-10-01. This check does not certify full playback.

    Date checked:

    Variations and mistakes to avoid
    More accessible
    Shorten the duration.
    To progress
    Progress to the side variation with straight legs.
    Avoid this mistake
    Letting your shoulder sink.
    View exercise guide
  10. Calm standing breathing

    Additional exercise

    1 × 6

    How to do it
    1. Stand with feet firm, knees relaxed and shoulders down.
    2. Breathe in comfortably without shrugging or maximally filling your lungs.
    3. Exhale slowly and repeat the cycles in your session.

    What it trainsPractises calm standing breathing and awareness of chest and rib movement.

    Rest
    Rest 45 s or longer until control returns.
    Tempo
    Controlled, without holding your breath
    Effort reserve
    RIR 3: finish with about 3 repetitions you could still perform with good technique.
    The movement, step by step

    With feet firm and knees relaxed, inhale without shrugging and exhale slowly. Complete five comfortable cycles.

    Technique cueUse a natural rhythm without forcing air in or out.

    Watch the demonstration for Calm standing breathingNHS Hampshire and Isle of Wight · Audio not verified; written guide in English · Opens a new tab
    Source and verificationOpen the original source

    Public source and video reference located; YouTube oEmbed HTTP 200 metadata (title: Long Covid: Film 3.3 - Retrain your breathing while standing; channel: NHS Hampshire and Isle of Wight; player offered). Full playback and audio are not certified.

    Date checked:

    The resource teaches standing breathing technique; the card does not prescribe treatment for COVID or a respiratory disorder.

    Variations and mistakes to avoid
    More accessible
    Reduce resistance and range; keep the movement comfortable and controlled.
    To progress
    Once you complete the prescribed amount with control, add one or two repetitions; then slightly increase resistance.
    Avoid this mistake
    Becoming dizzy through breathing too fast.
    View exercise guide
FINISH THE SESSION

Finish and prepare your next step.

Walk slowly and breathe comfortably for 2–3 minutes. Allow at least one recovery day before repeating hard strength work for the same muscle group.

Open workout in the app →

General routines for adults. If you have a health condition, an injury, are pregnant or have medical instructions, consult your professional before starting and ask for adaptations. Stop if you experience pain, dizziness or unusual breathlessness.