ES EspañolEN English
Skip to content
Sergio DolzTRAIN
BasketballIntermediateFree routine

Basketball · home plyometrics · progression

Ten movements for preparation, jumping and recovery. Only two tasks are jumps: 2 sets of 3 repetitions each, 12 landings in total. The rest cover mobility, preparation and foot control. This is not a fatigue circuit.

Read the workout without signing up. The app adds a timer, set logging and access to your activity.

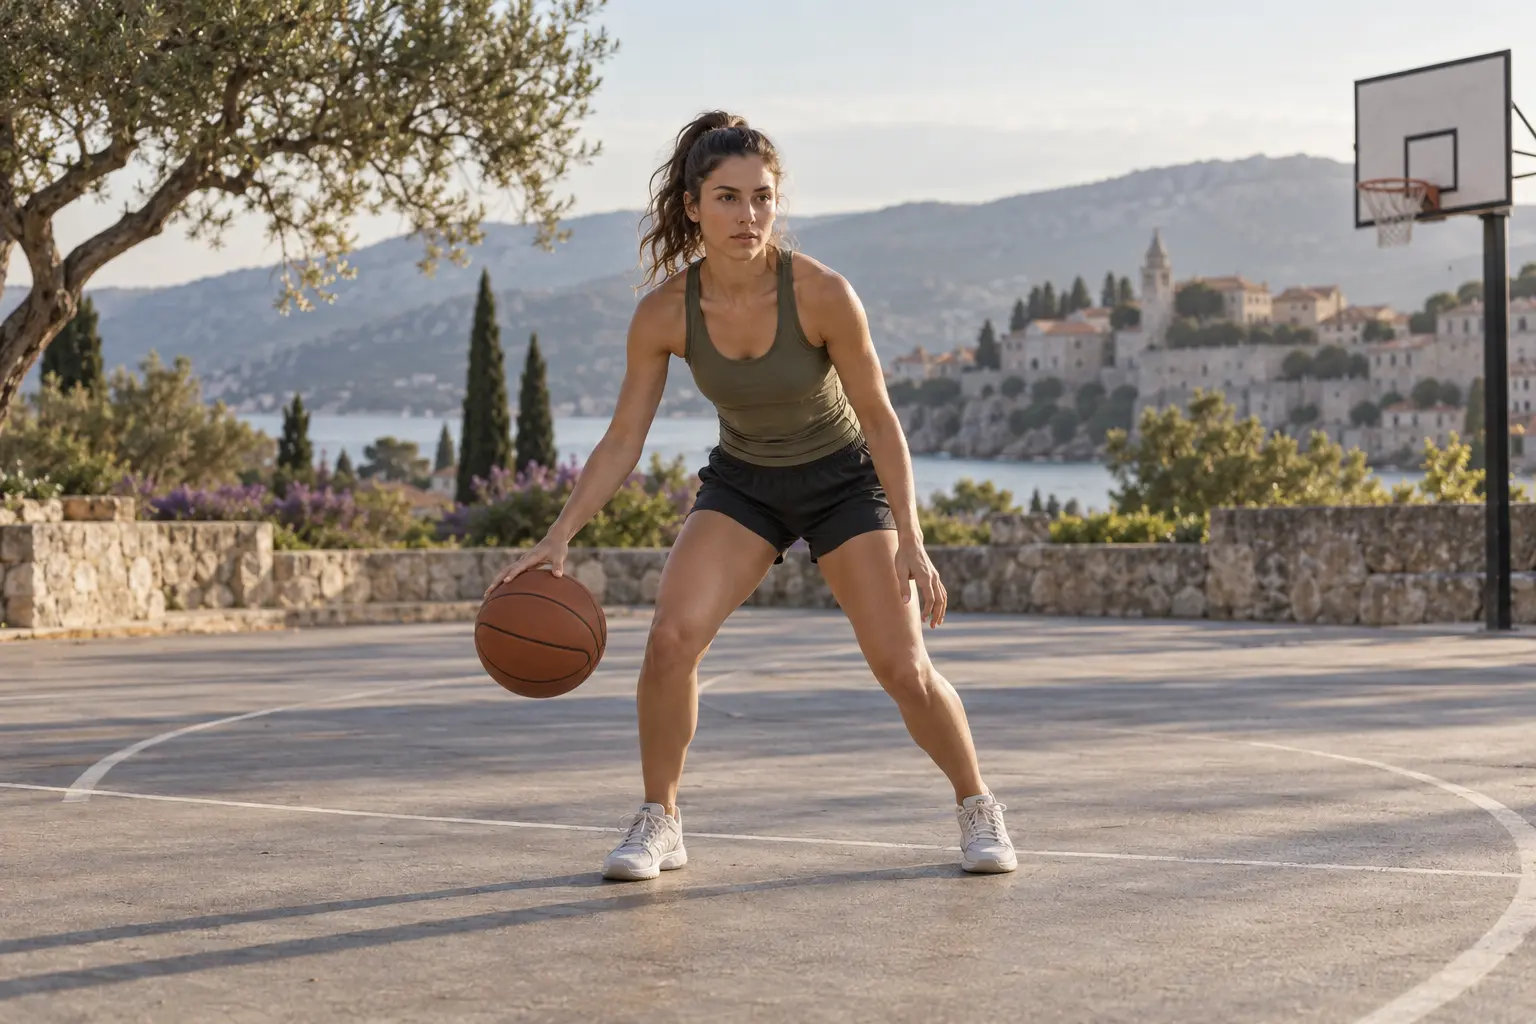
Athletic preparation and footwork control on a sports court. AI-generated image.
Approximate duration
31 min
Level
Intermediate
Session
10 exercises
Demonstrations
10 with video

Prepare your workout

Equipment
Firm non-slip floor, Wall or fixed support and Clear space; No obstacles
Before you choose
Do not use slippery surfaces, furniture as jumping boxes or cramped rooms. If home conditions are unsuitable, choose home strength and jump in an appropriate space. For pain-free adult athletes with stable landings.
Intensity
Quality first: rest 60–90 s between jump sets, longer if needed. Count jumps in practices and games too. Initially allow 48 h between plyometric sessions.
Warm-up
Before the session, complete one gentle round of the three listed movements. Allow about 6 minutes for preparation, transitions and rehearsing the first exercise; extend this if needed. Then follow the session landing preparation before jumping. Do not add warm-up jumps or aim to become tired.

Duration is approximate. Prepare your equipment and take the indicated rests; needing more rest can make the workout longer.

PREPARE TO MOVE

Your warm-up

Start with this gentle preparation before your working sets. The listed duration includes the warm-up.

  1. Active walking

    60–90 s at a comfortable pace

    Choose a clear, safe area and start walking at a comfortable pace. Take regular steps with your arms moving naturally. Keep a pace that allows conversation and slow down to finish.

    What you train: Warms up the body and trains arm-leg coordination while walking.

    Watch video
  2. Supported calf raise

    1 × 6 gentle repetitions

    Stand beside a firm support with weight shared between both feet. Slowly raise both heels without shifting forward. Lower with control until your whole feet are grounded.

    What you train: Strengthens the calves and trains ankle control when rising onto your toes.

    Watch video
  3. Supported side leg raise

    1 × 5 gentle repetitions per side

    Stand holding a fixed support with both feet facing forward. Lift one leg slightly sideways without leaning your trunk. Lower slowly and complete the other side.

    What you train: Strengthens the side hip muscles and trains pelvic control.

    Watch video
STEP BY STEP

Your complete workout

10 exercises
  1. Supported ankle mobility

    Prepare

    1 × 5

    How to do it
    1. Place one foot near a wall with the whole sole grounded.
    2. Move your knee forward in line with your toes, keeping the heel down.
    3. Return slowly and repeat with the other ankle.

    What it trainsTrains ankle mobility with the foot grounded.

    Rest
    Rest 30 s or longer until control returns.
    Tempo
    Controlled, without holding your breath
    The movement, step by step

    With your foot planted near a wall, move your knee forwards without lifting your heel. Return and repeat.

    Technique cueStay within a comfortable range; your knee need not touch the wall.

    Watch the demonstration for Supported ankle mobilityNHS University Hospitals Plymouth Physiotherapy · English · Opens a new tab
    Source and verificationOpen the original source

    Technical reference from the stated source. YouTube metadata (title, channel and offered player) checked on 2026-10-01. This check does not certify full playback.

    Date checked:

    Variations and mistakes to avoid
    More accessible
    Move your foot closer to the wall.
    To progress
    Move your foot slightly further away if you can keep your heel down.
    Avoid this mistake
    Forcing your ankle or rotating your foot to gain distance.
    View exercise guide
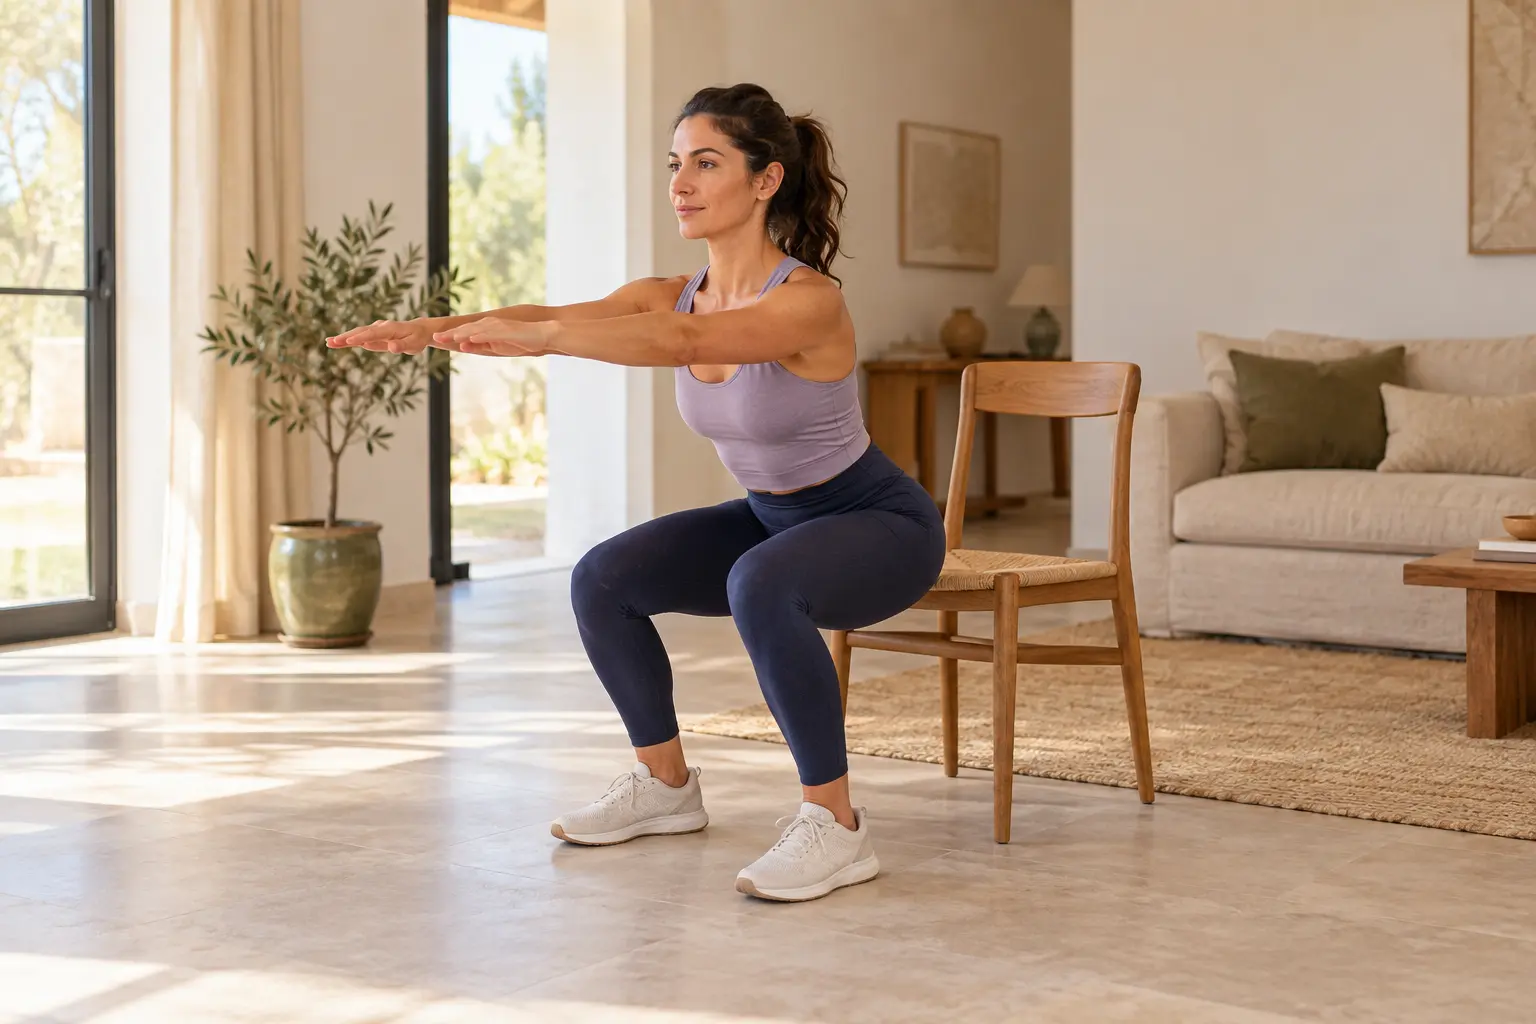
  2. Bodyweight squat

    Prepare

    1 × 5

    How to do it
    1. Stand with your feet comfortably apart.
    2. Bend your hips and knees with weight shared between both feet.
    3. Push through the floor and straighten your legs to stand.

    What it trainsStrengthens legs and glutes and trains hip-knee coordination when lowering.

    Rest
    Rest 30 s or longer until control returns.
    Tempo
    Controlled, without holding your breath
    The movement, step by step

    Place your feet a comfortable width apart. Bend your hips and knees with your weight distributed across both feet, then stand back up.

    Technique cueUse a range you can repeat slowly without momentum.

    Watch the demonstration for Bodyweight squatKingston and Richmond NHS Foundation Trust · English · Opens a new tab
    Source and verificationOpen the original source

    Technical reference from the stated source. YouTube metadata (title, channel and offered player) checked on 2026-10-01. This check does not certify full playback.

    Date checked:

    Variations and mistakes to avoid
    More accessible
    Do a shallow squat with firm support.
    To progress
    Add a brief pause at the bottom before using weight.
    Avoid this mistake
    Lifting your heels or letting your torso fall without control.
    View exercise guide
  3. Athletic landing position without a jump · basketball

    Prepare

    1 × 5

    How to do it
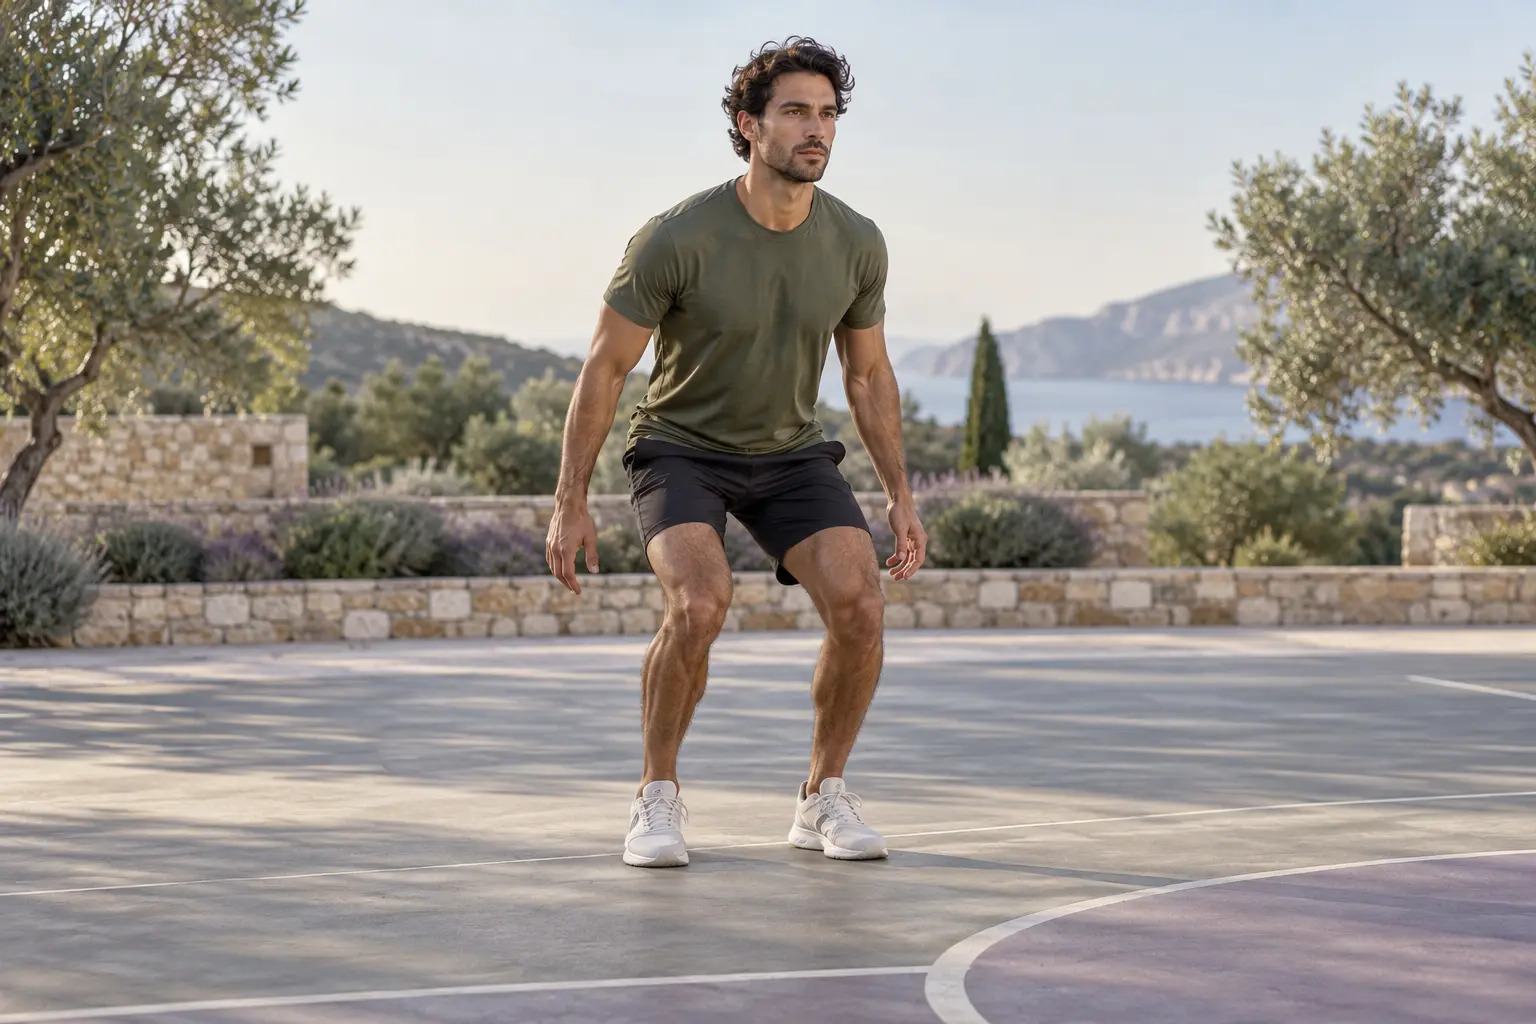
    1. Stand on a non-slip floor; slightly raise heels with forefeet grounded.
    2. Lower into an athletic stance by bending ankles, knees and hips without jumping.
    3. Hold steady for two seconds, then stand.

    What it trainsTrains braking and a stable landing posture without jump impact.

    Rest
    Rest 30 s or longer until control returns.
    Tempo
    Controlled, without holding your breath
    The movement, step by step

    Stand, rise slightly onto your toes and lower into an athletic stance by bending ankles, knees and hips. Hold two seconds and reset.

    Technique cueKeep knees following feet; there is no flight phase.

    Watch the demonstration for Athletic landing position without a jump · basketball[P]rehab · Audio not verified; written guide in English · Opens a new tab
    Source and verificationOpen the original source

    Official page HTTP 200: title, instructions and public video metadata, including 74 s duration, checked. No verified public iframe URL is offered; the original link is retained. Full playback and audio not observed.

    Date checked:

    Lower from a tall position and absorb through ankles, knees and hips. Do not add a jump.

    Variations and mistakes to avoid
    More accessible
    Reduce resistance and range; keep the movement comfortable and controlled.
    To progress
    Progress only one variable under supervision: a small increase in height, direction or single-leg support. Keep repetitions few and recovery complete.
    Avoid this mistake
    Letting your knees cave inward.
    View exercise guide
  4. Low two-foot pogos · basketball

    Jumps

    2 × 3

    How to do it
    1. Stand upright on both feet with knees slightly bent.
    2. Make very low ankle-driven rebounds, keeping your trunk upright.
    3. Count each rebound; stop at your session's total and recover fully.

    What it trainsTrains quick ankle response with low rebounds and few contacts.

    Rest
    Rest 90 s or longer until control returns.
    Tempo
    Controlled, without holding your breath
    The movement, step by step

    With soft knees, make very low ankle-driven rebounds, trunk upright, up to the repetitions in your session. Each rebound counts as one repetition. Stop at the end of the set and recover fully.

    Technique cueSeek low height and brief, controlled contacts.

    Watch the demonstration for Low two-foot pogos · basketballElite Performance Institute · Audio not verified; written guide in English · Opens a new tab
    Source and verificationOpen the original source

    Public source and video reference located; YouTube oEmbed HTTP 200 metadata (title: Double-Leg Pogo Jumps; channel: Elite Performance Institute; player offered). Full playback and audio are not certified.

    Date checked:

    Very low rebounds; each counts towards your session's total. Keep the prescribed amount and rest. Use small movements and stable landings; do not increase height, distance or speed to copy the resource's intensity.

    Variations and mistakes to avoid
    More accessible
    Reduce resistance and range; keep the movement comfortable and controlled.
    To progress
    Progress only one variable under supervision: a small increase in height, direction or single-leg support. Keep repetitions few and recovery complete.
    Avoid this mistake
    Turning them into high jumps or continuing with Achilles pain.
    View exercise guide
  5. Short alternating lateral jump · basketball

    Jumps

    2 × 3

    How to do it
    1. In clear sideways space, load one leg and keep the other foot available.
    2. Jump a short distance sideways onto the opposite leg.
    3. Hold two seconds, using the other foot if needed, then alternate.

    What it trainsTrains lateral push-off and control when landing on the other leg.

    Rest
    Rest 90 s or longer until control returns.
    Tempo
    Controlled, without holding your breath
    The movement, step by step

    Jump a short distance sideways onto the opposite leg, keeping the other foot available for support. Hold two seconds and alternate.

    Technique cueMaster two-foot landings first; balance matters more than distance.

    Watch the demonstration for Short alternating lateral jump · basketballHuman Kinetics · English · Opens a new tab
    Source and verificationOpen the original source

    Source, description and metadata. Full playback not checked. YouTube metadata (title, channel and offered player) checked on 2026-10-01. This check does not certify full playback.

    Date checked:

    Use low height or distance and a stable stop. Retain your session's repetitions and rest rather than copying a higher training amount from the resource.

    Variations and mistakes to avoid
    More accessible
    Reduce resistance and range; keep the movement comfortable and controlled.
    To progress
    Progress only one variable under supervision: a small increase in height, direction or single-leg support. Keep repetitions few and recovery complete.
    Avoid this mistake
    Turning your knee inward or linking jumps without balance.
    View exercise guide
  6. Two steps and stable braking · basketball

    Control and recovery

    1 × 5

    How to do it
    1. Choose level, non-slip ground with enough stopping space.
    2. Take two moderate steps, then brake by bending ankles, knees and hips.
    3. Hold steady and walk back before repeating.

    What it trainsTrains absorbing short-distance speed and finishing balanced.

    Rest
    Rest 30 s or longer until control returns.
    Tempo
    Controlled, without holding your breath
    The movement, step by step

    On level ground, take two moderate steps and brake by bending ankles, knees and hips. Hold a stable posture and walk back to reset.

    Technique cueThis is two-step braking without jumping or maximum running speed.

    Watch the demonstration for Two steps and stable braking · basketballE3 Rehab Exercise Library · English · Opens a new tab
    Source and verificationOpen the original source

    Technical reference from the stated source. YouTube metadata (title, channel and offered player) checked on 2026-10-01. This check does not certify full playback.

    Date checked:

    General braking reference: here, take only two moderate steps and stop steadily.

    Variations and mistakes to avoid
    More accessible
    Reduce resistance and range; keep the movement comfortable and controlled.
    To progress
    Progress only one variable under supervision: a small increase in height, direction or single-leg support. Keep repetitions few and recovery complete.
    Avoid this mistake
    Braking with stiff knees or accelerating too much.
    View exercise guide
  7. Supported calf-raise hold

    Control and recovery

    1 × 5

    How to do it
    1. Stand beside a firm support with weight shared between both feet.
    2. Raise both heels to a comfortable height for the prescribed hold.
    3. Breathe throughout and lower your heels slowly.

    What it trainsTrains calf endurance through a stationary heel-raise hold.

    Rest
    Rest 30 s or longer until control returns.
    Tempo
    Controlled, without holding your breath
    The movement, step by step

    Raise your heels with stable support and hold a comfortable position for a few seconds. Lower slowly.

    Technique cueFinish before you start losing ankle stability.

    Watch the demonstration for Supported calf-raise holdE3 Rehab Exercise Library · English · Opens a new tab
    Source and verificationOpen the original source

    Technical reference from the stated source. YouTube metadata (title, channel and offered player) checked on 2026-10-01. This check does not certify full playback.

    Date checked:

    Variations and mistakes to avoid
    More accessible
    Keep both feet supported and shorten the hold.
    To progress
    Alternate placing a little more weight on each leg.
    Avoid this mistake
    Holding until you lose control of your ankle.
    View exercise guide
  8. Lateral step and stop on cue · basketball

    Control and recovery

    1 × 5

    How to do it
    1. Take an athletic stance with clear space on both sides.
    2. On your own or a partner's cue, take one short sideways step.
    3. Stop steadily without crossing feet and reset for the next cue.

    What it trainsTrains a first lateral response step and controlled stop.

    Rest
    Rest 30 s or longer until control returns.
    Tempo
    Controlled, without holding your breath
    The movement, step by step

    From an athletic stance, take one short lateral step and stop steadily. Use your own or a partner's signal to choose the side.

    Technique cueKeep knees following feet; this is a step rather than a jump.

    Watch the demonstration for Lateral step and stop on cue · basketballExperience Life · Life Time · English · Opens a new tab
    Source and verificationOpen the original source

    Technical reference from the stated source. YouTube metadata (title, channel and offered player) checked on 2026-10-01. This check does not certify full playback.

    Date checked:

    Lateral movement reference: take only one short step and stop on cue without crossing your feet.

    Variations and mistakes to avoid
    More accessible
    Reduce resistance and range; keep the movement comfortable and controlled.
    To progress
    Progress only one variable under supervision: a small increase in height, direction or single-leg support. Keep repetitions few and recovery complete.
    Avoid this mistake
    Crossing your feet or losing alignment.
    View exercise guide
  9. Gentle calf stretch

    Control and recovery

    1 × 5

    How to do it
    1. Place hands on a wall and step one foot back, both feet facing forward.
    2. Bend the front knee while keeping the rear heel grounded.
    3. Hold gentle calf tension, return slowly and change sides.

    What it trainsGently stretches the calf with stable support.

    Rest
    Rest 30 s or longer until control returns.
    Tempo
    Controlled, without holding your breath
    The movement, step by step

    Place your hands on a wall and step one foot back. Keep your back heel on the floor and gently bend your front knee until you feel a light stretch. Switch sides.

    Technique cueBreathe normally and hold without bouncing.

    Watch the demonstration for Gentle calf stretchBromley Healthcare · English · Opens a new tab
    Source and verificationOpen the original source

    Technical reference from the stated source. YouTube metadata (title, channel and offered player) checked on 2026-10-01. This check does not certify full playback.

    Date checked:

    Variations and mistakes to avoid
    More accessible
    Bring your back foot closer and reduce your lean.
    To progress
    Hold a comfortable position for a few seconds longer without seeking more tension.
    Avoid this mistake
    Forcing the stretch or lifting your back heel.
    View exercise guide
  10. Calm standing breathing

    Control and recovery

    1 × 5

    How to do it
    1. Stand with feet firm, knees relaxed and shoulders down.
    2. Breathe in comfortably without shrugging or maximally filling your lungs.
    3. Exhale slowly and repeat the cycles in your session.

    What it trainsPractises calm standing breathing and awareness of chest and rib movement.

    Rest
    Rest 30 s or longer until control returns.
    Tempo
    Controlled, without holding your breath
    The movement, step by step

    With feet firm and knees relaxed, inhale without shrugging and exhale slowly. Complete five comfortable cycles.

    Technique cueUse a natural rhythm without forcing air in or out.

    Watch the demonstration for Calm standing breathingNHS Hampshire and Isle of Wight · Audio not verified; written guide in English · Opens a new tab
    Source and verificationOpen the original source

    Public source and video reference located; YouTube oEmbed HTTP 200 metadata (title: Long Covid: Film 3.3 - Retrain your breathing while standing; channel: NHS Hampshire and Isle of Wight; player offered). Full playback and audio are not certified.

    Date checked:

    The resource teaches standing breathing technique; the card does not prescribe treatment for COVID or a respiratory disorder.

    Variations and mistakes to avoid
    More accessible
    Reduce resistance and range; keep the movement comfortable and controlled.
    To progress
    Once you complete the prescribed amount with control, add one or two repetitions; then slightly increase resistance.
    Avoid this mistake
    Becoming dizzy through breathing too fast.
    View exercise guide
FINISH THE SESSION

Finish and prepare your next step.

Walk slowly and breathe comfortably for 2–3 minutes. Allow at least one recovery day before repeating hard strength work for the same muscle group.

How to progress

Start with two weekly sessions or fewer according to sporting load. Improve control before adding reps. If combining with strength, perform plyometrics after warming up and before strength; separate days are also possible.

Open workout in the app →

General routines for adults. If you have a health condition, an injury, are pregnant or have medical instructions, consult your professional before starting and ask for adaptations. Stop if you experience pain, dizziness or unusual breathlessness.