ES EspañolEN English
Skip to content
Sergio DolzTRAIN
StrengthBeginnerFree routine

Postpartum at home · pelvic floor and control

Ten low-impact movement options for a stage agreed with your professional. Split the session and do only tolerated tasks; completing everything is not compulsory. Strength and floor-based exercises require readiness for that stage, not an automatic date after birth.

Read the workout without signing up. The app adds a timer, set logging and access to your activity.

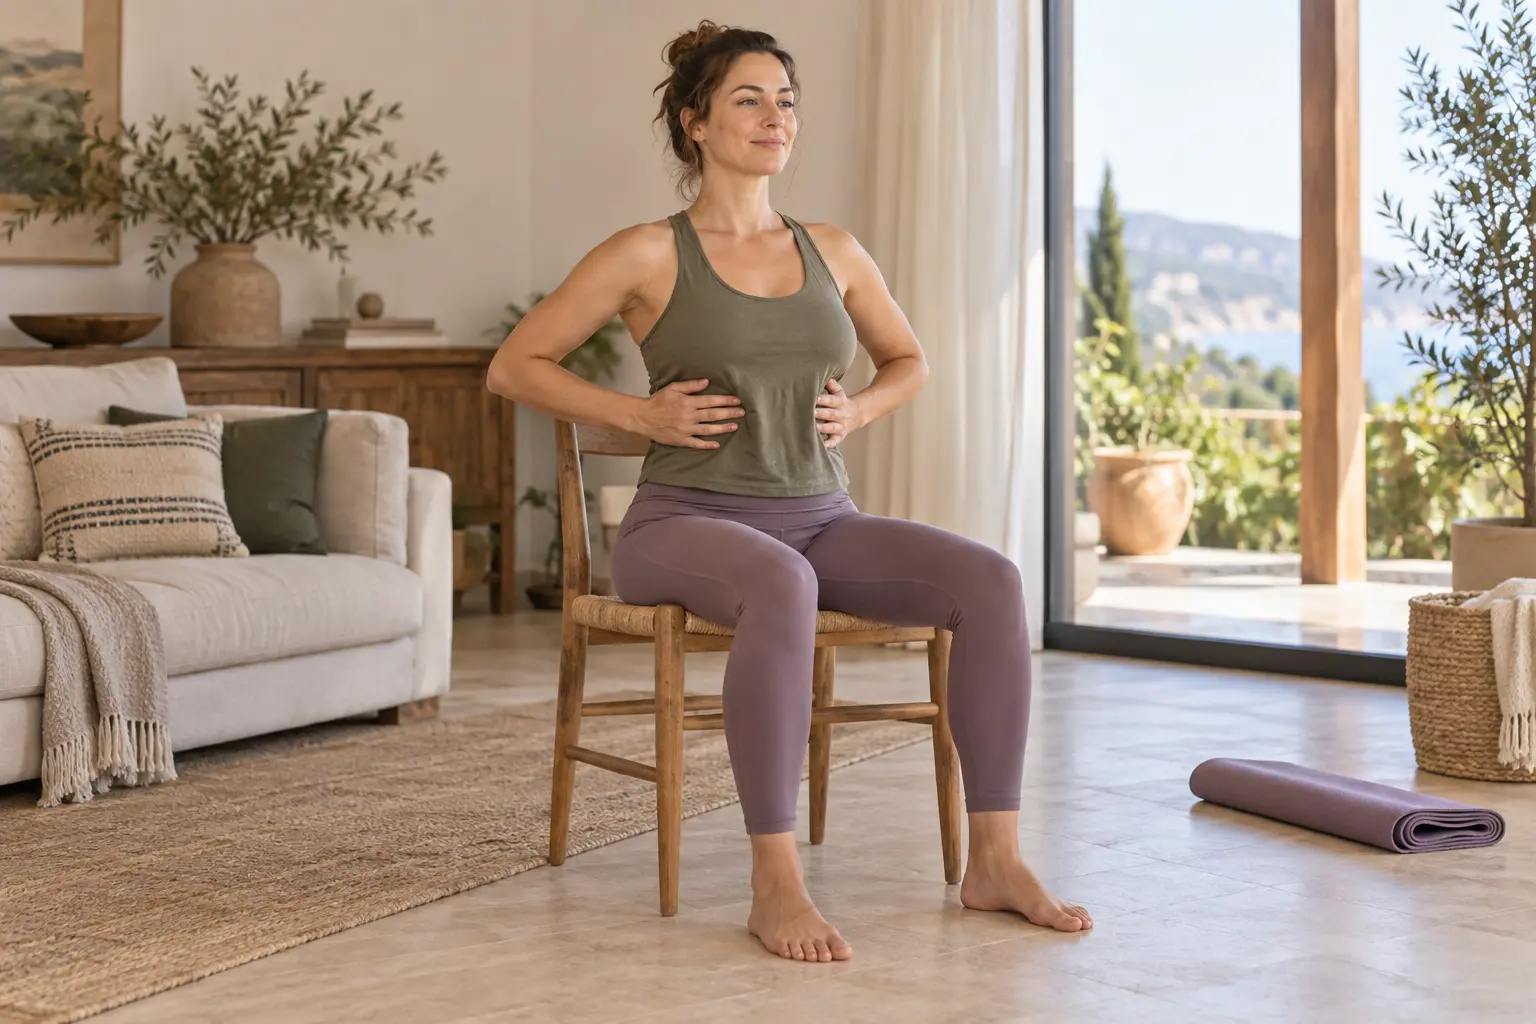
A woman returning to gentle movement at home. AI-generated image.
INDIVIDUAL ADAPTATION

Postnatal · recover at your own pace

No-impact options for a stage agreed with your midwife, obstetrician or pelvic floor physiotherapist. Having more movements available does not mean you must complete them all.

Before you begin. After an uncomplicated vaginal birth, gentle movement can resume as tolerated. A caesarean, tear, complications, pain or pelvic symptoms need specific guidance. A postnatal review helps decide progressions; it is not automatic clearance to jump or run.

Effort. Start with a few repetitions, comfortable breathing and rests as needed. Split the routine into small blocks. Avoid breath-holding and effort that causes pain, vaginal pressure, leakage, scar tension or abdominal doming.

Adaptations and sources
  • Breathing and pelvic floor: releasing completely matters. If it hurts or you cannot relax, do not keep contracting; request an assessment. Do not practise by stopping your urine flow.
  • Strength, bridge and hands-and-knees sessions are for a stage you already tolerate, with the wound protected and load restrictions respected. They are not automatically suitable immediately after birth.
  • Diastasis, prolapse, pelvic pain or incontinence require individual adjustments. No routine promises to correct them.
  • Returning to impact depends on symptoms, strength and individual assessment. The postnatal library does not include jumping or running.

When to stop. Stop and seek advice if bleeding increases or you experience pain, vaginal heaviness, leakage or changes to your scar. Heavy bleeding, chest pain, severe breathlessness, fainting, fever with feeling unwell, or pain and swelling in one calf require urgent attention; in an emergency, call 112.

Approximate duration
20 min
Level
Beginner
Session
10 exercises
Demonstrations
10 with video

Prepare your workout

Equipment
Stable chair, Wall; Light band or bottles only where specified; Mat if tolerated
Before you choose
Discuss your stage with your midwife, obstetrician or pelvic-floor physiotherapist. After a caesarean, tear, complication or pain, follow specific advice before strength or floor-based tasks.
Intensity
Gentle and adjustable: one short set per movement. No breath-holding, jumps, pain, vaginal pressure, leakage or scar tension. This is not treatment for diastasis or prolapse.
Warm-up
Preparation is already included at the start: Comfortable rib breathing · postpartum; Pelvic-floor relaxation · postpartum. Follow those blocks as prescribed and do not repeat them as extra work. Start with today's comfortable range and any breaks you need; you may stop here if this is enough.

Duration is approximate. Prepare your equipment and take the indicated rests; needing more rest can make the workout longer.

PREPARE TO MOVE

Your warm-up

These movements are already part of the workout. Do them in their scheduled place rather than repeating them as extra work.

  1. Comfortable rib breathing · postpartum

    5 calm breaths

    Sit with back supported or lie comfortably on your side. Breathe in gently, feeling the ribs open sideways. Exhale without tightening your tummy and complete five calm cycles.

    What you train: Practises comfortable rib breathing without straining the abdomen.

    Watch video See its place in the workout
  2. Pelvic-floor relaxation · postpartum

    5 calm breaths

    Sit with back supported or lie on your side without abdominal tension. As you inhale, let the abdomen and pelvic floor relax without bearing down. Exhale and allow natural resting tone without a strong contraction.

    What you train: Practises noticing and releasing pelvic-floor tension to your individual plan.

    Watch video See its place in the workout
STEP BY STEP

Your complete workout

10 exercises
  1. Comfortable rib breathing · postpartum

    Recovery

    5 calm breaths

    How to do it
    1. Sit with back supported or lie comfortably on your side.
    2. Breathe in gently, feeling the ribs open sideways.
    3. Exhale without tightening your tummy and complete five calm cycles.

    What it trainsPractises comfortable rib breathing without straining the abdomen.

    Rest
    Rest 30 s or longer until control returns.
    Tempo
    Controlled, without holding your breath
    The movement, step by step

    Sit with support or lie on your side. Breathe in gently towards your ribs. Breathe out without forcing your abdomen. Take five calm breaths.

    Technique cueRelax your shoulders and avoid forced breaths.

    Watch the demonstration for Comfortable rib breathing · postpartumNHS Fife · Audio not verified; written guide in English · Opens a new tab
    Source and verificationOpen the original source

    Public source and video reference located; YouTube oEmbed HTTP 200 metadata (title: Lateral Breathing; channel: NHS Fife; player offered). Full playback and audio are not certified.

    Date checked:

    Breathe comfortably without straining your abdomen or holding your breath. The video supports movement technique, not clearance for a recovery stage or prescription. Postpartum, the card's gentle effort, exhalation, comfortable range and symptom criteria take priority.

    Variations and mistakes to avoid
    More accessible
    Reduce resistance and range; keep the movement comfortable and controlled.
    To progress
    Only after confirming tolerance with your professional, increase by a few repetitions or a little range. Do not automatically progress to jumping.
    Avoid this mistake
    Breathing quickly or forcing your abdomen.
    View exercise guide
  2. Pelvic-floor relaxation · postpartum

    Recovery

    5 calm breaths

    How to do it
    1. Sit with back supported or lie on your side without abdominal tension.
    2. As you inhale, let the abdomen and pelvic floor relax without bearing down.
    3. Exhale and allow natural resting tone without a strong contraction.

    What it trainsPractises noticing and releasing pelvic-floor tension to your individual plan.

    Rest
    Rest 30 s or longer until control returns.
    Tempo
    Controlled, without holding your breath
    The movement, step by step

    With your back supported, breathe comfortably. As you breathe in, let your perineum and abdomen relax without bearing down; as you breathe out, return to your natural muscle tone.

    Technique cueRelaxation means releasing a squeeze rather than pushing down.

    Watch the demonstration for Pelvic-floor relaxation · postpartumWest Herts Teaching Hospitals NHS Trust · Audio not verified; written guide in English · Opens a new tab
    Source and verificationOpen the original source

    Public source and video reference located; YouTube oEmbed HTTP 200 metadata (title: Pelvic floor relaxation with breathing; channel: West Herts Teaching Hospitals NHS Trust; player offered). Full playback and audio are not certified.

    Date checked:

    Relax without bearing down or adding a strong contraction. The video supports movement technique, not clearance for a recovery stage or prescription. Postpartum, the card's gentle effort, exhalation, comfortable range and symptom criteria take priority.

    Variations and mistakes to avoid
    More accessible
    Reduce resistance and range; keep the movement comfortable and controlled.
    To progress
    Only after confirming tolerance with your professional, increase by a few repetitions or a little range. Do not automatically progress to jumping.
    Avoid this mistake
    Bearing down or holding your breath.
    View exercise guide
  3. Gentle pelvic-floor contraction and release · postpartum

    Recovery

    3–5 contractions of up to 3 s, with at least 6 s of relaxation

    How to do it
    1. Sit without pain, locate your pelvic floor and relax your glutes.
    2. Gently close around the openings and lift slightly; hold up to 3 s while breathing.
    3. Fully release and rest at least 6 s before contracting again.

    Keep in mind: If you cannot locate or release the pelvic floor, or pain occurs, stop and request assessment.

    What it trainsPractises gentle contraction and complete relaxation while breathing.

    Rest
    Rest 30 s or longer until control returns.
    Tempo
    Controlled, without holding your breath
    The movement, step by step

    If you already know how to locate your pelvic floor without pain, imagine gently closing around the openings and lifting a little. Hold for up to three seconds while breathing, release completely and rest for at least six.

    Technique cueTry only 3–5 practice repetitions; do not stop urine flow to practise.

    Watch the demonstration for Gentle pelvic-floor contraction and release · postpartumRehab My Patient · English · Opens a new tab
    Source and verificationOpen the original source

    Title, author and player offered by official YouTube oEmbed HTTP 200 checked. Public description cross-checked when available. Duration, full playback, audio and framing unverified.

    Date checked:

    Gently contract while exhaling and fully relax. Follow your card's timing and symptom criteria.

    Variations and mistakes to avoid
    More accessible
    Reduce resistance and range; keep the movement comfortable and controlled.
    To progress
    Only after confirming tolerance with your professional, increase by a few repetitions or a little range. Do not automatically progress to jumping.
    Avoid this mistake
    Practising by stopping your urine flow or squeezing your glutes as hard as possible.
    View exercise guide
  4. Brief pelvic-floor contractions · postpartum

    Recovery

    3 brief contractions, relaxing completely between them

    How to do it
    1. Sit comfortably; start only once you control gentle contraction and relaxation.
    2. Briefly contract the pelvic floor, then fully release without squeezing your glutes.
    3. Rest several seconds between contractions; complete three while breathing normally.

    What it trainsPractises brief contractions alternating with complete relaxation.

    Rest
    Rest 30 s or longer until control returns.
    Tempo
    Controlled, without holding your breath
    The movement, step by step

    After mastering relaxation and a gentle contraction, perform three brief contractions, releasing completely between them and pausing for several seconds.

    Technique cueCheck that you can fully relax before repeating.

    Watch the demonstration for Brief pelvic-floor contractions · postpartumRehab My Patient · English · Opens a new tab
    Source and verificationOpen the original source

    Title, author and player offered by official YouTube oEmbed HTTP 200 checked. Public description cross-checked when available. Duration, full playback, audio and framing unverified.

    Date checked:

    Gently squeeze and fully release each time. Do only the prescribed repetitions, without pain or difficulty relaxing.

    Variations and mistakes to avoid
    More accessible
    Reduce resistance and range; keep the movement comfortable and controlled.
    To progress
    Only after confirming tolerance with your professional, increase by a few repetitions or a little range. Do not automatically progress to jumping.
    Avoid this mistake
    Linking contractions without being able to release them.
    View exercise guide
  5. Exhalation with gentle abdominal activation · postpartum

    Recovery

    3–5 comfortable repetitions; up to 5 breaths in breathing exercises

    How to do it
    1. Sit with support or lie comfortably on your side.
    2. Exhale and gently engage the lower abdomen as if closing a zip.
    3. Fully relax on the inhale without forcefully drawing in your tummy.

    What it trainsCoordinates exhalation and gentle lower-abdominal activation.

    Rest
    Rest 30 s or longer until control returns.
    Tempo
    Controlled, without holding your breath
    The movement, step by step

    In a comfortable supported position, breathe out and gently activate your lower abdomen as if doing up a zip, without pulling your belly in hard. Relax completely as you breathe in.

    Technique cueKeep breathing comfortable during the activation.

    Watch the demonstration for Exhalation with gentle abdominal activation · postpartumNHS Fife · Audio not verified; written guide in English · Opens a new tab
    Source and verificationOpen the original source

    Public source and video reference located; YouTube oEmbed HTTP 200 metadata (title: Crook Lying; channel: NHS Fife; player offered). Full playback and audio are not certified.

    Date checked:

    Deep Core Squeezes section of the official page; the video title is Crook Lying. Avoid forcefully drawing in the abdomen. The video supports movement technique, not clearance for a recovery stage or prescription. Postpartum, the card's gentle effort, exhalation, comfortable range and symptom criteria take priority.

    Variations and mistakes to avoid
    More accessible
    Reduce resistance and range; keep the movement comfortable and controlled.
    To progress
    Only after confirming tolerance with your professional, increase by a few repetitions or a little range. Do not automatically progress to jumping.
    Avoid this mistake
    Holding your breath or causing abdominal doming.
    View exercise guide
  6. Gentle seated pelvic tilt · postpartum

    Recovery

    3–5 comfortable repetitions; up to 5 breaths in breathing exercises

    How to do it
    1. Sit with feet grounded and your back comfortable.
    2. Tilt your pelvis slightly forward without a large back arch.
    3. Gently roll back and return to centre without perineal pressure.

    What it trainsPractises pelvic movement and finding a comfortable seated position.

    Rest
    Rest 30 s or longer until control returns.
    Tempo
    Controlled, without holding your breath
    The movement, step by step

    With both feet supported, move your pelvis slightly forwards and backwards within a comfortable range, without excessively flattening or arching your back.

    Technique cueUse a small movement rather than a large lumbar arch.

    Watch the demonstration for Gentle seated pelvic tilt · postpartumPeak Physio · Audio not verified; written guide in English · Opens a new tab
    Source and verificationOpen the original source

    Public source and video reference located; YouTube oEmbed HTTP 200 metadata (title: Anterior & posterior pelvic tilt; channel: Peak Physio; player offered). Full playback and audio are not certified.

    Date checked:

    Use a fixed chair and a small range; the ball variation is unnecessary. The video supports movement technique, not clearance for a recovery stage or prescription. Postpartum, the card's gentle effort, exhalation, comfortable range and symptom criteria take priority.

    Variations and mistakes to avoid
    More accessible
    Reduce resistance and range; keep the movement comfortable and controlled.
    To progress
    Only after confirming tolerance with your professional, increase by a few repetitions or a little range. Do not automatically progress to jumping.
    Avoid this mistake
    Trying to create a large arch in your lower back.
    View exercise guide
  7. Supported ankle mobility · postpartum

    Recovery

    3–5 comfortable repetitions; up to 5 breaths in breathing exercises

    How to do it
    1. Sit with your back supported and both feet grounded.
    2. Gently lift your toes while heels stay down.
    3. Lower and repeat through a small, comfortable range.

    What it trainsMobilises the ankles while seated without bodyweight loading.

    Rest
    Rest 30 s or longer until control returns.
    Tempo
    Controlled, without holding your breath
    The movement, step by step

    With your back supported, raise and lower your toes within a comfortable range and gently move your ankles.

    Technique cueMove slowly without tensing your legs.

    Watch the demonstration for Supported ankle mobility · postpartumBromley Healthcare · English · Opens a new tab
    Source and verificationOpen the original source

    Technical reference from the stated source. YouTube metadata (title, channel and offered player) checked on 2026-10-01. This check does not certify full playback.

    Date checked:

    General demonstration of the same movement. Postpartum, this card's gentle effort, comfortable range, exhalation and symptom criteria take priority; the video does not authorise a recovery stage or individual prescription.

    Variations and mistakes to avoid
    More accessible
    Reduce resistance and range; keep the movement comfortable and controlled.
    To progress
    Only after confirming tolerance with your professional, increase by a few repetitions or a little range. Do not automatically progress to jumping.
    Avoid this mistake
    Forcing a painful ankle.
    View exercise guide
  8. Seated shoulder mobility · postpartum

    Recovery

    3–5 comfortable repetitions; up to 5 breaths in breathing exercises

    How to do it
    1. Sit with feet grounded and arms relaxed.
    2. Make small backward shoulder circles.
    3. Release your shoulders between circles and breathe comfortably.

    What it trainsGently mobilises the shoulders and upper back without load.

    Rest
    Rest 30 s or longer until control returns.
    Tempo
    Controlled, without holding your breath
    The movement, step by step

    Sit with your feet supported and make small backwards shoulder circles, leaving your arms relaxed.

    Technique cueKeep your neck long and head still.

    Watch the demonstration for Seated shoulder mobility · postpartumBromley Healthcare · English · Opens a new tab
    Source and verificationOpen the original source

    Technical reference from the stated source. YouTube metadata (title, channel and offered player) checked on 2026-10-01. This check does not certify full playback.

    Date checked:

    General demonstration of the same movement. Postpartum, this card's gentle effort, comfortable range, exhalation and symptom criteria take priority; the video does not authorise a recovery stage or individual prescription.

    Variations and mistakes to avoid
    More accessible
    Reduce resistance and range; keep the movement comfortable and controlled.
    To progress
    Only after confirming tolerance with your professional, increase by a few repetitions or a little range. Do not automatically progress to jumping.
    Avoid this mistake
    Raising your shoulders with tension.
    View exercise guide
  9. Hand and wrist mobility · postpartum

    Recovery

    3–5 comfortable repetitions; up to 5 breaths in breathing exercises

    How to do it
    1. Relax your shoulders with hands comfortable and unloaded.
    2. Slowly open and close your fingers without squeezing hard.
    3. Gently move wrists up and down within a comfortable range.

    What it trainsMobilises fingers and wrists without hand loading.

    Rest
    Rest 30 s or longer until control returns.
    Tempo
    Controlled, without holding your breath
    The movement, step by step

    Open and close your hands slowly and move your wrists within a comfortable range, with relaxed shoulders.

    Technique cueShorten the range if tense; do not force a painful end position.

    Watch the demonstration for Hand and wrist mobility · postpartumPhysitrack · Audio not verified; written guide in English · Opens a new tab
    Source and verificationOpen the original source

    Official page HTTP 200; title, movement instructions and VideoPlayer offering a video checked. Full playback and audio not checked.

    Date checked:

    Make small, comfortable circles. The video supports movement technique, not clearance for a recovery stage or prescription. Postpartum, the card's gentle effort, exhalation, comfortable range and symptom criteria take priority.

    Variations and mistakes to avoid
    More accessible
    Reduce resistance and range; keep the movement comfortable and controlled.
    To progress
    Only after confirming tolerance with your professional, increase by a few repetitions or a little range. Do not automatically progress to jumping.
    Avoid this mistake
    Forcing a painful end range.
    View exercise guide
  10. Comfortable recovery walk · postpartum

    Recovery

    2–5 comfortable minutes or less, according to tolerance

    How to do it
    1. Choose comfortable shoes and a level return route manageable without exhaustion.
    2. Walk a few minutes at a comfortable conversational pace.
    3. Shorten or stop for pain, pelvic pressure or increased bleeding.

    What it trainsPractises returning to continuous walking within your tolerance.

    Rest
    Rest 30 s or longer until control returns.
    Tempo
    Controlled, without holding your breath
    The movement, step by step

    Walk at a pace that lets you talk, starting with a few minutes. Stop or shorten the walk if you develop pain, pelvic pressure or increased bleeding.

    Technique cueDuration depends on tolerance rather than a compulsory target.

    Watch the demonstration for Comfortable recovery walk · postpartumPhysitrack · Audio not verified; written guide in English · Opens a new tab
    Source and verificationOpen the original source

    Official page HTTP 200; title, instructions and VideoPlayer with a non-null video resource checked. Full playback and audio not observed. Only the original page is linked.

    Date checked:

    Observe foot contact. Walk at your card's comfortable pace and duration; stop if symptoms occur.

    Variations and mistakes to avoid
    More accessible
    Reduce resistance and range; keep the movement comfortable and controlled.
    To progress
    Only after confirming tolerance with your professional, increase by a few repetitions or a little range. Do not automatically progress to jumping.
    Avoid this mistake
    Walking beyond what you tolerate to meet a number.
    View exercise guide

Sign in or create your free account to ask Sergio. Read replies in Account → Messages.

FINISH THE SESSION

Finish and prepare your next step.

Recover comfortable breathing and check how you feel during and after the session. Increased symptoms require reducing the amount and seeking advice.

Open workout in the app →

General routines for adults. If you have a health condition, an injury, are pregnant or have medical instructions, consult your professional before starting and ask for adaptations. Stop if you experience pain, dizziness or unusual breathlessness.